In this article, I will Talk about the How to Connect a Hardware Wallet to a Bridging Aggregator. A hardware wallet, whether it’s a Ledger, Trezor, or another brand, protects your private keys while you move assets between blockchains.
By keeping your keys offline, you reduce the chance of exposure during the bridging process. Follow this guide to move tokens with minimal exposure and maximum peace of mind.
What is Hardware Wallet?
A hardware wallet is a standalone piece of hardware that securely keeps your cryptocurrency private keys offline, shielding them from online risks like hacking and malware.

Unlike software wallets, hardware wallets are built to resist almost all cyber threats, since they process sensitive data without ever connecting to the internet. Popular options on the market are Ledger and Trezor.
These devices allow you to approve and sign transactions without the private keys ever leaving the wallet itself, delivering robust security for holding and transacting digital currencies like Bitcoin, Ethereum, and a wide array of altcoins.
How to Connect a Hardware Wallet to a Bridging Aggregator Step-by-Step

Example: Moving ETH from Ethereum to Arbitrum with a Ledger and Bungee
Set Up Your Hardware Wallet
- Unpack your Ledger or Trezor and follow the setup prompts
- Install the most recent firmware and create a strong PIN
- Write down your recovery phrase and store it securely offline
Install MetaMask and Connect Your Hardware Wallet
- Download and install the MetaMask extension for your browser
- Open MetaMask and click your account icon, then select “Connect Hardware Wallet”
- Choose Ledger or Trezor and follow the instructions to link your device
- Your hardware wallet account will be displayed in MetaMask
Visit Bungee Exchange
- Go to Bungee Exchange
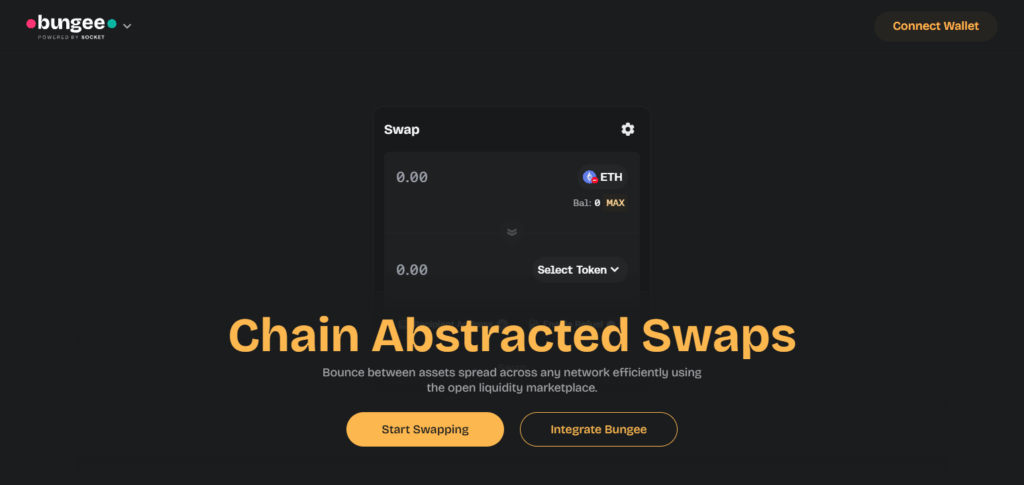
- Click “Connect Wallet” and select MetaMask
- Ensure your hardware wallet account is active in MetaMask
Select Bridging Parameters
- Set Ethereum as your source chain and Arbitrum as your destination
- Choose ETH as the token to bridge

- Input the amount you want to transfer
Approve and Confirm the Transaction
- MetaMask will prompt you for token allowance approval
- Confirm the transaction by signing it on your hardware wallet
- Wait for the process to finish and monitor it in Bungee’s dashboard or on a block explorer
Other Place Where to Connect a Hardware Wallet to a Bridging Aggregator
Bitget Wallet
Bitget Wallet stands out as a flexible Web3 vault, easily linking with hardware cold-storage devices, which positions it perfectly for bridging aggregators. The wallet’s greatest strength is its out-of-the-box multi-chain capability, paired with full compatibility for leading systems like Ledger.

Users can oversee assets spanning multiple ledgers while engaging bridging sites, whether via WalletConnect or the embedded browser. Thanks to a user-friendly dashboard, live transaction monitoring, and a rigorously secure signing flow, transitioning assets across chains feels both fluid and fully safeguarded.
Rango Exchange
Rango Exchange serves as a robust bridging aggregator that seamlessly incorporates hardware wallet compatibility, turning cross-chain token transfers into a secure and straightforward experience.
The platform’s highlight is its dynamic route optimization, which identifies the least expensive and quickest bridge paths by scanning various liquidity pools. Once linked to a hardware wallet—whether Ledger, Trezor, or any compatible device—users can approve every transaction through WalletConnect or native wallet screens.
This marriage of hardware-grade security and smart routing ensures that every cross-chain transfer is both safe and efficient, giving users peace of mind as they move assets across networks.
Benefits of Using a Hardware Wallet with a Bridging Aggregator
Superior Security: Your private keys stay offline and out of reach from the web, greatly diminishing the chance of hacks or phishing attempts when doing cross-chain swaps.
Manual Transaction Verification: Every bridge action requires a physical signature on the hardware device, blocking any unauthorized funds movement.
Defense Against Malicious Apps: Hardware wallets act as an additional shield when you connect to unknown or high-risk bridging platforms.
Uncompromised Asset Ownership: You never lose custody of your crypto; the funds stay under your control from start to finish.
Wide Aggregator Support: Leading bridging aggregators—including Rango, Bungee, and Across—work seamlessly with hardware wallets, delivering a fluid, secure workflow.
Initiating a Bridge Transaction
Pick Your Start and Target Networks
Identify the blockchains you’re moving assets between, such as the journey from Ethereum to Polygon.
Specify the Token and Quantity
Select the specific token you want to move and the exact amount you’re bridging.
Examine Gas and Bridge Charges
Take a close look at the estimated fees: the gas needed and any fees from the bridging service.
Connect Your Hardware Wallet
Make sure your hardware device is plugged in, unlocked, and recognized by your wallet (for example, Ledger showing in MetaMask).
Confirm the Transfer
Review the transaction on your hardware wallet’s screen and, after confirming the details, authorize the action.
Wait for the Transaction to Settle
The bridging service will handle the swap; how long this takes will depend on how busy the networks are.
Check Your Wallet on the Target Network
After the service signals the swap is complete, look in your wallet on the destination chain to confirm the tokens have arrived.
Security Tips During the Process
Verify URLs Carefully: Always confirm you’re on the bridging aggregator’s official website to steer clear of phishing or copycat sites.
Keep Firmware Updated: Make a habit of checking for and installing firmware updates on your hardware wallet so it remains equipped with the latest security fixes.
Avoid Public Wi-Fi: Carry out bridge transactions only on trusted home or mobile networks—never on public Wi-Fi—to shield your data from eavesdroppers.
Never Share Seed Phrases: Ignore any prompt—real or fake—to enter your seed phrase; it belongs offline and out of view.
Inspect Transaction Details on Device: Carefully examine the full transaction summary on your hardware wallet’s screen before hitting the confirm button.
Use Trusted Wallet Interfaces: Pair your hardware wallet with verified interfaces such as MetaMask, Rabby, or Ledger Live to add an extra layer of security.
Beware of Fake Extensions: Only install wallet-related browser extensions from official sources and steer clear of any that seem unofficial.
Common Issues and Troubleshooting
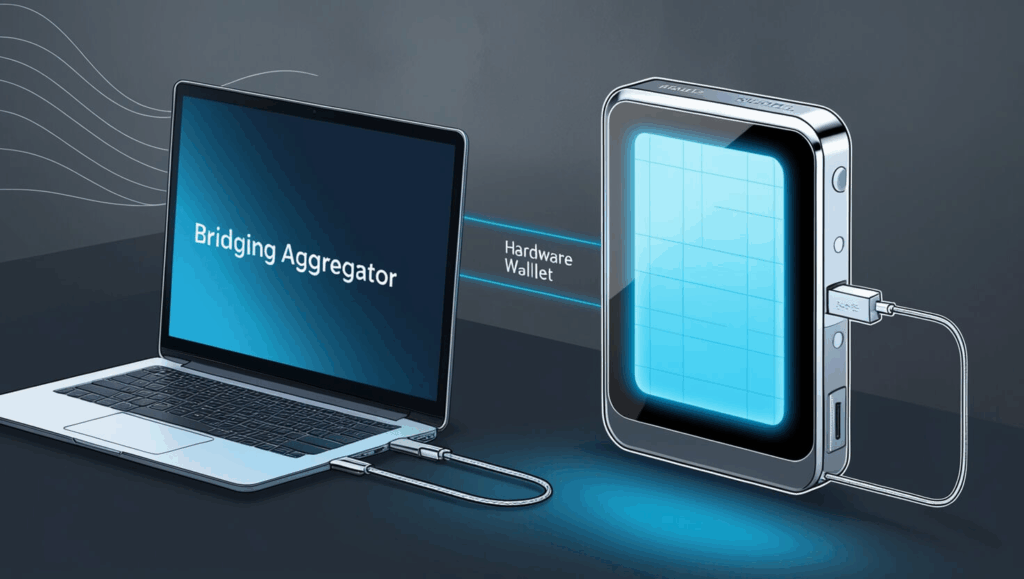
Hardware Wallet Not Detected
Confirm the wallet is plugged in, unlocked, and the right application (like Ethereum) is open. If it’s still missing, swap the USB cable or try a different USB port.
Unsupported Token or Network
A specific token or network might not be available on the bridge aggregator or your wallet. Always verify that the asset is on the compatibility list before you start.
Transaction Not Appearing on Device
Refresh the wallet interface (like MetaMask), disconnect and reconnect your hardware wallet, or restart your browser to reestablish the link.
Bridge Transaction Delayed
Delays could be caused by network congestion or low gas limits. Check the transaction’s status on a blockchain explorer to get live updates.
Wrong Account Selected
When you connect your wallet, double-check that you’ve chosen the right account or address in the wallet interface.
Signature Request Fails
Update the browser extension and clear your cache. Once that’s done, reconnect the hardware wallet and try to sign again.
Aggregator Not Connecting to Wallet
Confirm you are using a supported wallet interface and that the bridge aggregator permits hardware wallet access. If it still won’t connect, try a different browser.
Pros & Cons
| Pros | Cons |
|---|---|
| High Security: Keeps private keys offline and safe | Initial Cost: Hardware wallets require purchase |
| Manual Transaction Approval: Adds protection | Setup Complexity: Can be confusing for beginners |
| Prevents Unauthorized Access: Mitigates phishing | Limited Mobile Support: Some wallets lack full mobile compatibility |
| Compatible with Many Platforms: Works with top aggregators | Slower Transactions: Manual confirmation may take more time |
| Reduces Risk from Malicious DApps | Device Dependency: You need the device for every transaction |
Conclusion
Linking a hardware wallet to a bridging aggregator stands as one of the most robust defenses for managing cross-chain crypto transfers. The design guarantees that your private keys stay offline, yet you retain absolute command of your assets while the bridging occurs.
Adhering to the recommended configuration, double-checking every transaction detail, and observing essential security protocols allow you to transfer tokens between blockchains without jeopardizing your capital. Always select vetted platforms and ensure your hardware wallet’s firmware is current to guarantee a fluid and fortified bridging workflow.
FAQ
Can I use any hardware wallet with a bridging aggregator?
Most major hardware wallets like Ledger and Trezor are supported by popular bridging aggregators via interfaces like MetaMask or WalletConnect. Always check the aggregator’s supported wallets list.
Do I need MetaMask to use my hardware wallet with a bridging aggregator?
Yes, in most cases, you need a wallet interface like MetaMask or Rabby to connect your hardware wallet to a bridging aggregator.
Is it safe to connect a hardware wallet to a bridging platform?
Yes, as long as you verify the aggregator’s URL, approve transactions only on your device, and never share your seed phrase, it’s very secure.


